There may be times when you have a timber floor you need to prepare tile or put other flooring.
From bedrooms to kitchens, halls, and balconies, tiles laid on wooden floors offer a strong, durable, and affordable option for covering floors throughout your home.
Tiles are mostly fixed on cemented or concrete floors. How about wooden floors?
Wooden floors are also suitable surfaces for tiling.
You only need to properly prepare the surface to get the job done.
In this article, I am going to give you a step-by-step guide on how to prepare a wooden floor for tiling.
Before laying tile over any plywood subfloor it’s important to make sure that the floor itself is free from excessive deflection and or bending which can pop grout joints and loosen or crack tiles
NOTE
A properly installed subfloor is an important key to a trouble-free tiling job.
Tools needed for tiling on wooden floor
The following are a list of tools needed before, during and after tiling on a wooden floor.
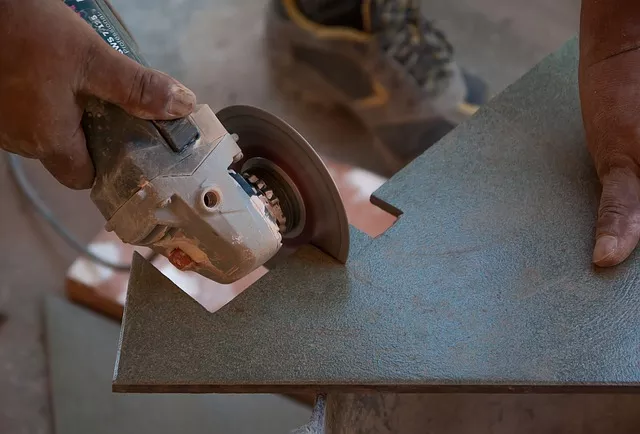
- Manual or electric tile cutter.
- Flexible adhesive and grout.
- Trowel
- Electric or manual mixer
- Pencil
- Protective clothing/gear
- Tape measure
- Stanley knife
- Step ladder for wall tiling.
- Sponges and cloths
- Scrapper
- Chalk line
- Pipe and cable detector
- Electric drill or scree driver
Steps to Prepare a wooden floor for tiling
TAKE NOTE
Every project is different and you may inevitably encounter something that may not be covered in this tutorial. But I promise you’ll get the most out of this piece.

- Remove any staples and drive down any screws or nails that are sticking up.
- Install a cement backer board to set a good substrate for your tile and prevent any deformity related to movement or cracking of tile or grout.
- Screw down boards or plywood ensuring a minimum of 300mm centres before mixing your adhesive. Lookout for pipes and cables to ensure you don’t screw into them.
- Mix your adhesive thoroughly to your desired consistency.
- Spread your adhesive using a floor trowel
After properly preparing the wooden floor, it is time to bed the tiles into the adhesive using a twisting/sliding motion to gain good coverage on the back of the tile.
Conclusion
Tiles are a great way to design your room, however, doing that on a wooden floor needs careful preparation and expertise.
By choosing the right adhesive and preparing the surface, you are assured on getting a perfect finish.
Prepare wooden floor for tiling FAQs
What is the best adhesive for tiling on wood?
There are several tile adhesives on the market. Check out our previous post on the best tile adhesive for wooden floor HERE
Can you tile straight onto a wooden floor?
Yes, it is possible to tile straight onto a wooden floor after the adhesive has been applied.
What ought to be put on floorboards before tiling?
There are tile adhesives on the UK market suitable for wooden floors. You can check them in my previous post.
Can I put ceramic tiles on a wooden floor?
Yes, cermic tiles can be installed a wooden floor. However, the plywood or floorboard must be strong enough to bare the weight of the tile.
What is the minimum plywood thickness for tiling over floorboards?
A single 3/4 inch plywood is normally not adequate as a substrate for tiles. The tile industry recommends a subfloor that’s at least an inch a quater thick.
If your wooden floor is not up to the standard it is recommended that you add a second sheet of exterior grade plywood to match up.